Setting up our Window
Now that we've configured the metal-cpp library and GLFW, it's time to make a window, as we'll need one before we'll be able to render anything to our screen. We're going to stash all of our rendering engine logic in a new file we'll call mtl_engine.mm, with the corresponding header mtl_engine.hpp. You might be wondering what the .mm extension is for. This is where the Objective-C I discussed in the Setup section comes in. Essentially, it tells Xcode to allow us to combine C++ and Objective-C code in the same file and compile it. We have to do this, because some of the windowing functions we'll need aren't mapped to the metal-cpp library for some reason, at least at the time of writing this. Critically, we're going to want to change our main.cpp file to main.mm as well.
In mtl_engine.hpp, we're first going to include the necessary headers for GLFW and metal-cpp:
#pragma once

#define GLFW_INCLUDE_NONE
#import <GLFW/glfw3.h>
#define GLFW_EXPOSE_NATIVE_COCOA
#import <GLFW/glfw3native.h>

#include <Metal/Metal.hpp>
#include <Metal/Metal.h>
#include <QuartzCore/CAMetalLayer.hpp>
#include <QuartzCore/CAMetalLayer.h>
#include <QuartzCore/QuartzCore.hpp>
#define GLFW_EXPOSE_NATIVE_COCOA bit, which is a macro that exposes the native APIs of GLFW for the Cocoa framework on MacOS. It's critical to include that, as it's responsible for our windowing technique!
Next, we'll define our Metal Engine class, MTLEngine:
class MTLEngine {
public:
    void init();
    void run();
    void cleanup();

private:
    void initDevice();
    void initWindow();

    MTL::Device* metalDevice;
    GLFWwindow* glfwWindow;
    NSWindow* metalWindow;
    CAMetalLayer* metalLayer;
};
main function, init(), run(), and cleanup(). The init() function will do all of our Window and Metal setup. We're keeping it simple for now, just enough functionality to get a window opened. You'll notice 4 member variables defined at the bottom. The MTL::Device* metalDevice gives us access to our devices GPU, and the plethora of commands that it provides us for rendering and GPU compute work. GLFWwindow* glfwWindow gives us a handle to our GLFWwindow, as well as GLFW's various callback functions, like handling keyboard input and whatnot. For those who are unfamiliar, you can read more on GLFW's functionality at glfw.com. We also have our NSWindow* metalWindow and CAMetalLayer* metalLayer, which are actually our first two Objective-C variables. I'll explain their purpose when we create the window.
First, let's take a look at the Engine implementation:
init() function, all we're going to be doing is calling our Metal Device and GLFW Window setup methods: initDevice() and initWindow().
The contents of initDevice() should look familiar, we're simply using the metal-cpp library to create our Metal Device handle which gives us access to our GPU. We'll use our Metal Device for many things, but not limited to:
- Shader Library creation.
- Buffer and Texture Resource creation, and passing data betwen the CPU and GPU.
- Render and Compute Pipeline creation.
We'll get into the details of what all these things mean in the following chapters as they come up.
void MTLEngine::initWindow() {
    glfwInit();
    glfwWindowHint(GLFW_CLIENT_API, GLFW_NO_API);
    glfwWindow = glfwCreateWindow(800, 600, "Metal Engine", NULL, NULL);
    if (!glfwWindow) {
        glfwTerminate();
        exit(EXIT_FAILURE);
    }

    metalWindow = glfwGetCocoaWindow(glfwWindow);
    metalLayer = [CAMetalLayer layer];
    metalLayer.device = (__bridge id<MTLDevice>)metalDevice;
    metalLayer.pixelFormat = MTLPixelFormatBGRA8Unorm;
    metalWindow.contentView.layer = metalLayer;
    metalWindow.contentView.wantsLayer = YES;
}
initWindow() function first initializes GLFW, and uses glfwWindowHint() to tell GLFW not to create the OpenGL graphics context, as we're using Metal instead :). We set our glfwWindow, with a window width of 800 and height of 600, and a window name of Metal Engine. If window creation fails, we exit.
We then set our metalWindow with a call to glfwGetCocoaWindow(), specifying our glfwWindow as the input. This gives us a reference to the underlying native macOS Cocoa window that GLFW uses underneath for window management. We then use some funky Objective-C syntax [CAMetalLayer layer] to create a metalLayer, as the metal-cpp library does not yet expose all of the parts necessary to do this for some reason. We then set a device, using the __bridge id<MTLDevice> cast to convert from a C++ MTL::Device* pointer to an Objective-C MTLDevice*. We'll eventually end up using this bridging interface a little bit more to convert back and forth between Objective-C and C++ types. We then set the pixelFormat for the metalLayer, and give the metalLayer to the Cocoa window.
By setting the layer of the contentView to our metalLayer, we're telling the Cocoa window underneath to use the Metal layer for rendering its content. The Metal layer will provide the low-level access to Metal that we need to perform our graphics rendering. Once the layer of the contentView is set, any content that we draw on the Metal layer will be displayed in the window. Essentially, the Metal layer is acting as what's called the "framebuffer". We also specify the wantsLayer property of the window's contentView, to ensure that the Cocoa window underneath will use the metalLayer for rendering its content.
void MTLEngine::run() {
    while (!glfwWindowShouldClose(glfwWindow)) {
        glfwPollEvents();
    }
}
run() function, which will eventually be our main program loop, where we'll handle our window updates and draw to the screen. The loop continues until glfwWindowShouldClose(glfwWindow) returns true, which for now will only happen when you hit the red close button at the top of the window. Every iteration of the loop, we'll need to call glfwPollEvents(), which we'll eventually use for handling keyboard input. If you don't include it now, the window won't launch!
Our last function is the cleanup() function, where we'll eventually be handling our de-initiallisation and de-allocation of resources upon program close. For now, this will just include these two commands, glfwTerminate(), and metalDevice->release(). What is release() for? Glad you asked.
Resource Management with metal-cpp
It's very important to understand how resource allocation works with metal-cpp. Any object created with a method whose name's begin with alloc, new, copy, mutableCopy, or Create, is owned by you. This means that you're responsible for de-allocation of the resource after you're done with it. Whenever an object is created using one of these aforementioned functions, it is assigned by default a retainCount of 1. When an objects retainCount becomes 0, the object is deallocated. Since we previously created our metalDevice with MTL::CreateSystemDefaultDevice, we're owners of the object, and we must release it when we're done with it. If you don't handle resource allocation properly, you can encounter crashes and memory-leaks. Bad stuff. You can read more about metal-cpp's memory allocation rules and policies in the README.md located in the metal-cpp folder, and the documentation it links to here and here.
In order to instantiate our MTLEngine, head in to main.mm include the mtl_engine.hpp header, and create the engine:
#include "mtl_engine.hpp"

int main() {

    MTLEngine engine;
    engine.init();
    engine.run();
    engine.cleanup();

    return 0;
}
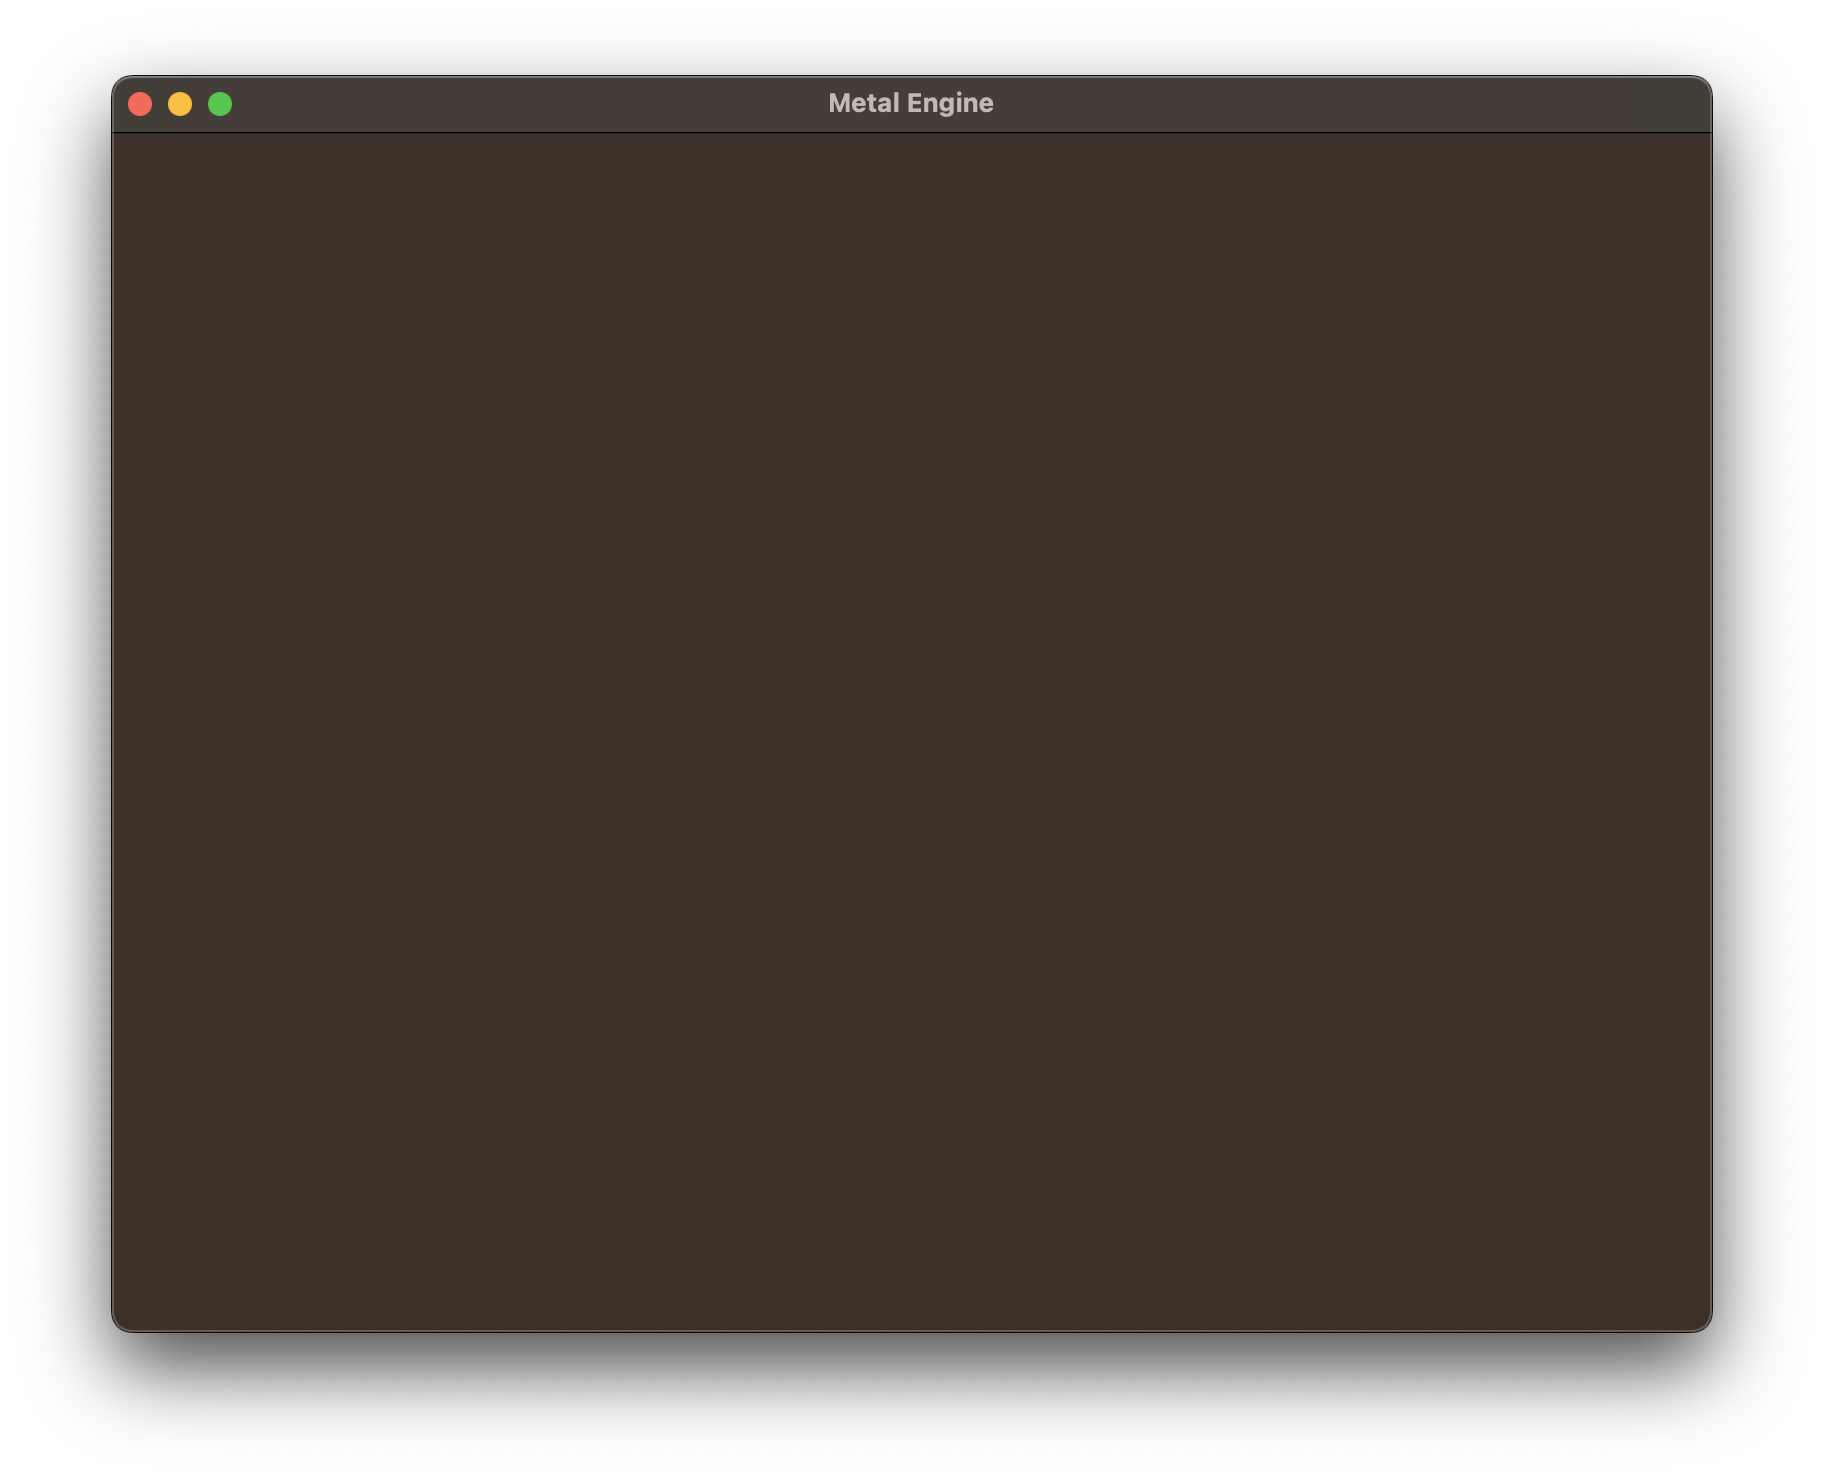
If you build and run, you should get a beautiful blank looking window: